11 minutes
Raycasting: How Wolfenstein 3D Fakes 3D With 2D Math
Introduction
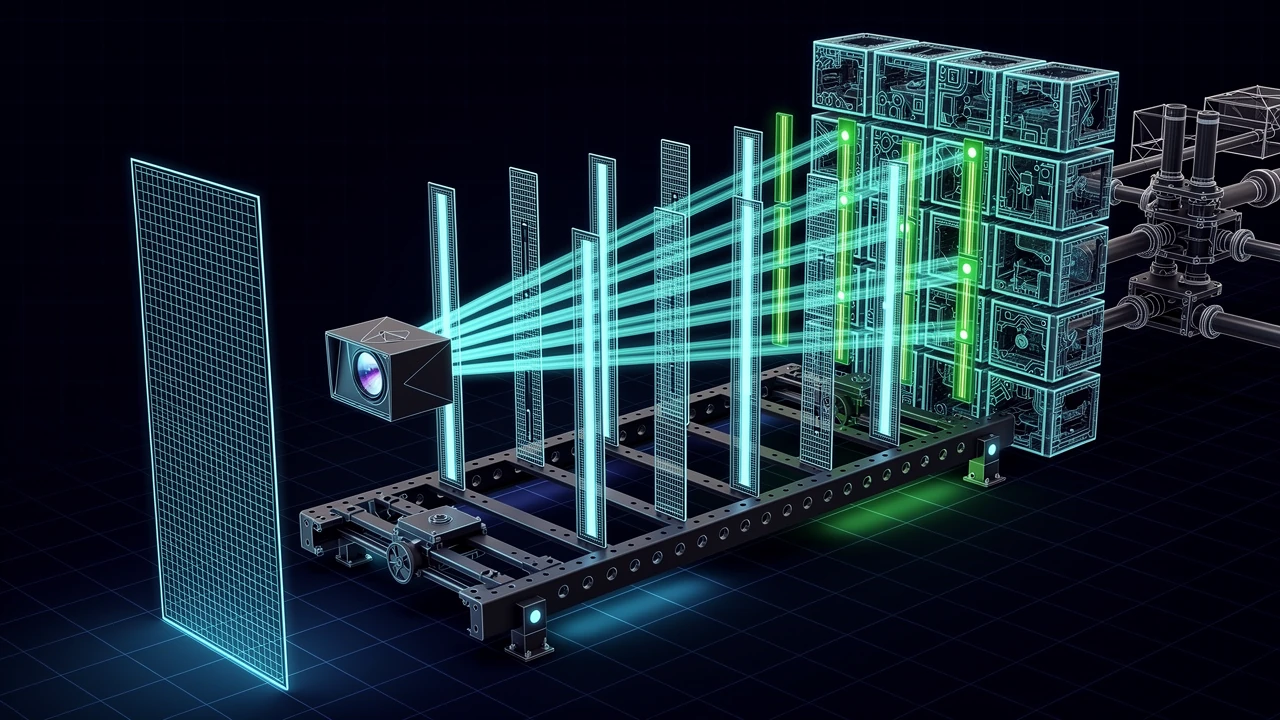
Raycasting is one of those tricks that looks like magic until the geometry is written down. It creates the illusion of a three-dimensional world while still working entirely on a 2D grid. That made it a perfect fit for older computers, where full real-time 3D engines were far too expensive to run comfortably.
The classic example is Wolfenstein 3D. Its world was built from square tiles, and every wall had the same height. That seems extremely limited, and it was. It could not do stairs, slopes, or true vertical movement. But within those limits, the effect was fast enough and convincing enough to define a whole style of first-person game.
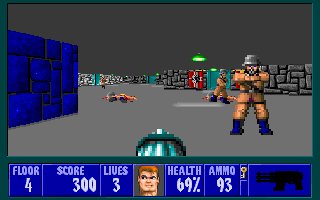
The key idea is simple: the screen is not rendered as a full 3D scene. Instead, each vertical stripe is treated as a separate question. What wall does this slice of view hit, and how tall should it appear? The answer comes from 2D math, not a full 3D engine. That is why raycasting became so useful.
It is also worth separating raycasting from raytracing. They sound similar, but they solve different problems. Raycasting is a fast way to build a 3D-looking view from a 2D map. Raytracing is a lighting technique that simulates reflections, shadows, and more realistic light behavior in true 3D scenes. Raytracing looks richer, but it is far more expensive.
The nice part is that raycasting still teaches a lot. It touches grid traversal, vectors, camera projection, movement, collision, texture mapping, and a few performance tradeoffs that still matter in modern code.
The basic idea
The world is treated as a square grid. Each cell is either empty space or a wall. Empty cells are usually 0. Any positive value means a wall tile, often with a different color or texture. The map is just data, and the renderer interprets that data one stripe at a time.
For each x position on the screen, a ray is fired from the player’s position into the world. The ray direction depends on the player’s facing direction and on the horizontal position on the screen. Once the ray enters a wall cell, the distance to that hit point is used to figure out how tall the wall should look on screen.
That single rule is what sells the whole illusion: the farther the wall, the shorter it appears. The closer the wall, the taller it appears.
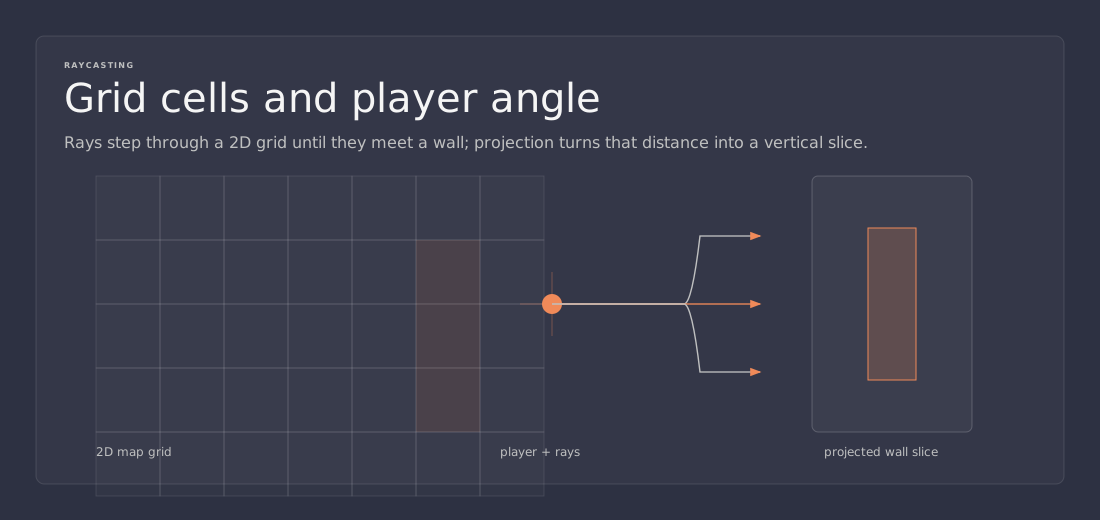
A naive implementation would move the ray forward in tiny equal steps and check the map again and again. That works, but it is inefficient and can still miss a wall if the step is too large. Make the step smaller and the accuracy improves, but the number of checks grows quickly. In the limit, perfect precision would require infinitely many steps, which is not a good trade.
A better approach is to jump from grid boundary to grid boundary. Since the map is made of square cells, the ray can be advanced to the next vertical or horizontal edge in a controlled way. That is where the DDA method comes in. DDA stands for Digital Differential Analysis, and in this case it is just a fast way to walk a line through a square grid.
Instead of thinking in angles, the tutorial uses vectors and a camera plane. The player has a position vector and a direction vector. A second vector, the camera plane, sits perpendicular to the direction vector. The plane represents the width of the screen. Every ray is built from a blend of the forward direction and some portion of that plane.
That makes the math cleaner than juggling a bunch of angles. The direction vector says where the player is looking. The camera plane spreads rays left and right across the field of view.
Camera, direction, and field of view
The camera plane is the part that turns the 2D map into a camera-like view. It is not a true 3D plane here. In this setup, it is just a 2D vector that sits perpendicular to the direction vector. The direction vector points forward, and the plane stretches sideways.
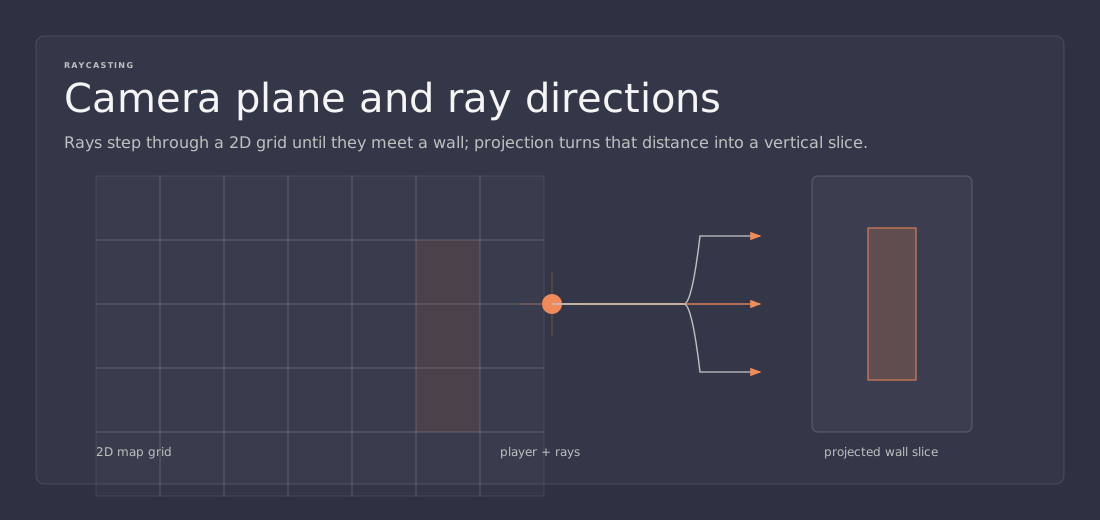
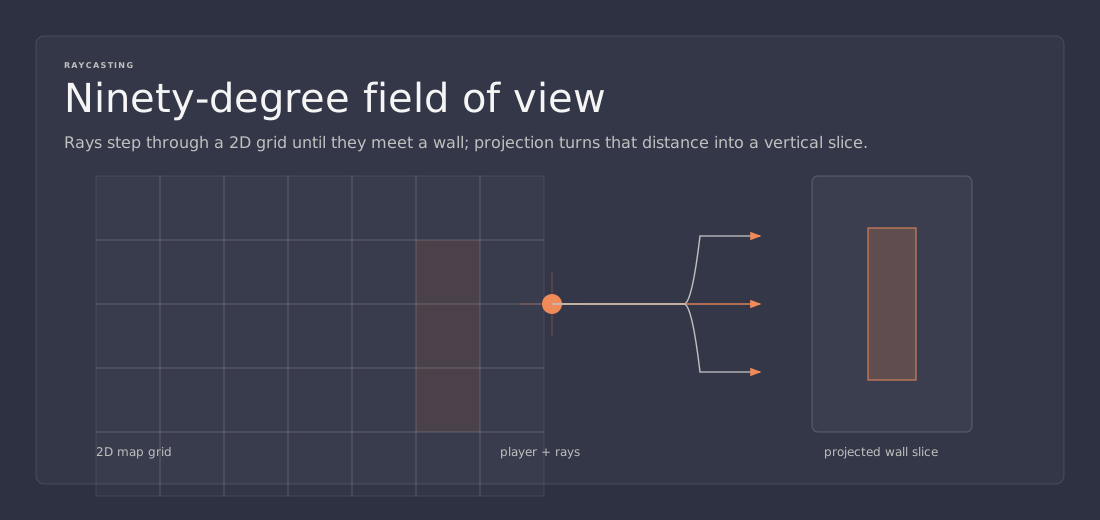
The field of view depends on the relationship between the direction vector and the camera plane vector. If they have about the same length, the view is around 90 degrees wide. If the direction vector is longer, the view narrows. If the plane is longer, the view widens.
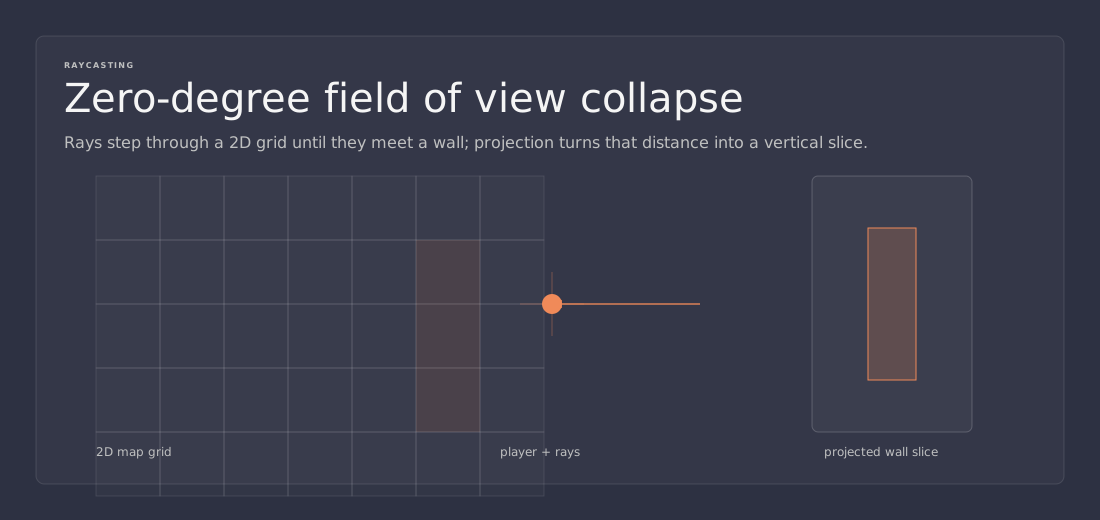
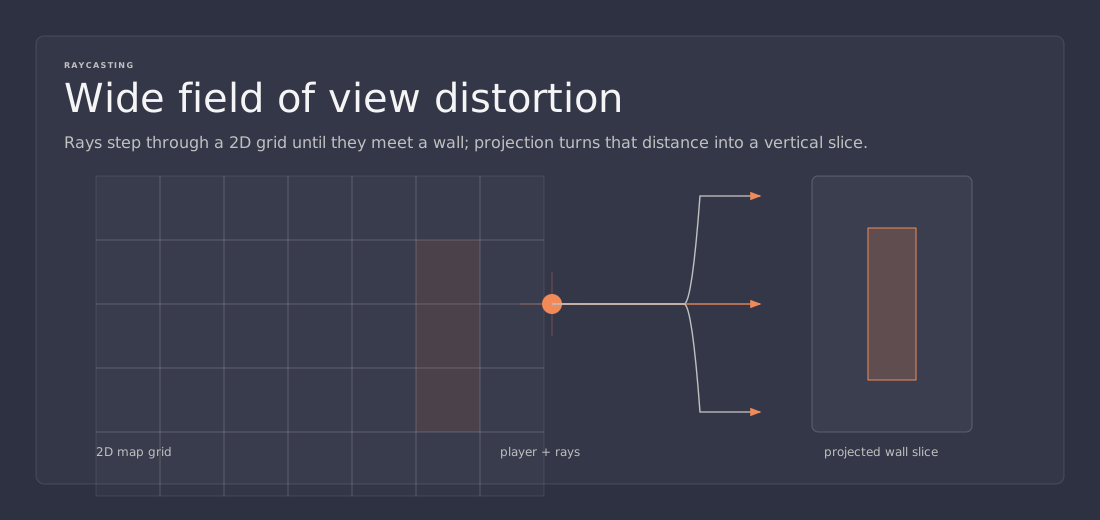
That is a useful control knob. A narrow field of view feels like zooming in. A wide one feels like zooming out. The engine does not need a special feature for that. It only needs a different balance between the direction vector and the plane vector.
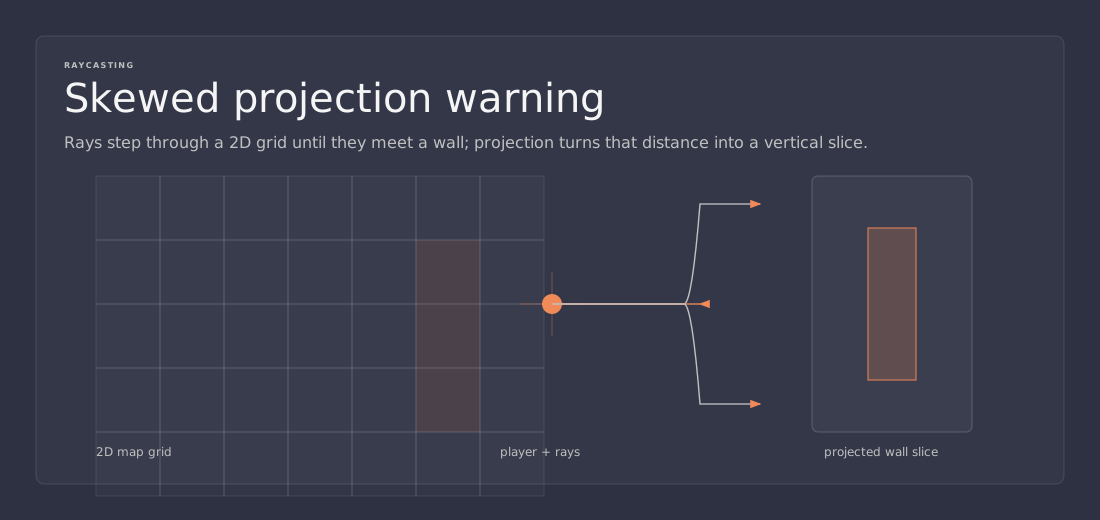
When the player rotates, both vectors rotate together. That keeps the camera stable and prevents the whole scene from warping. The standard 2D rotation matrix handles it neatly. If the camera plane is not kept perpendicular to the direction vector, the world begins to look skewed.
Untextured raycaster
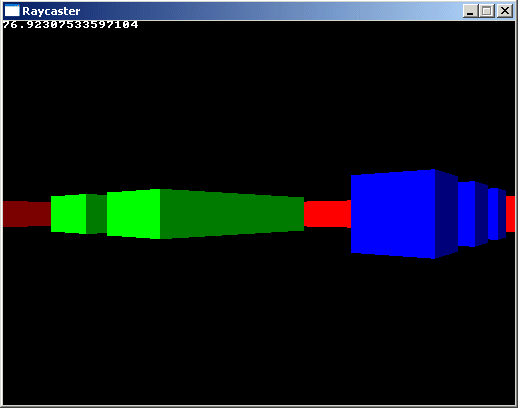
The untextured version is the simplest place to start because it strips the problem down to geometry. The map is a 2D array. The player starts in a fixed position with an initial direction vector and camera plane. A frame timer keeps movement speed consistent regardless of frame rate.
For each screen column, the renderer does the same routine:
- Compute the ray direction for that column.
- Find the current map cell.
- Set up the DDA stepping distances.
- Walk through the grid until a wall is found.
- Measure the perpendicular distance.
- Convert distance into wall height.
- Draw the stripe in a solid color.
The current screen column is expressed as a camera-space x value ranging from -1 on the left to +1 on the right. The center of the screen is 0. The ray direction is then the forward direction plus a scaled piece of the camera plane. That simple formula gives each screen column its own ray.
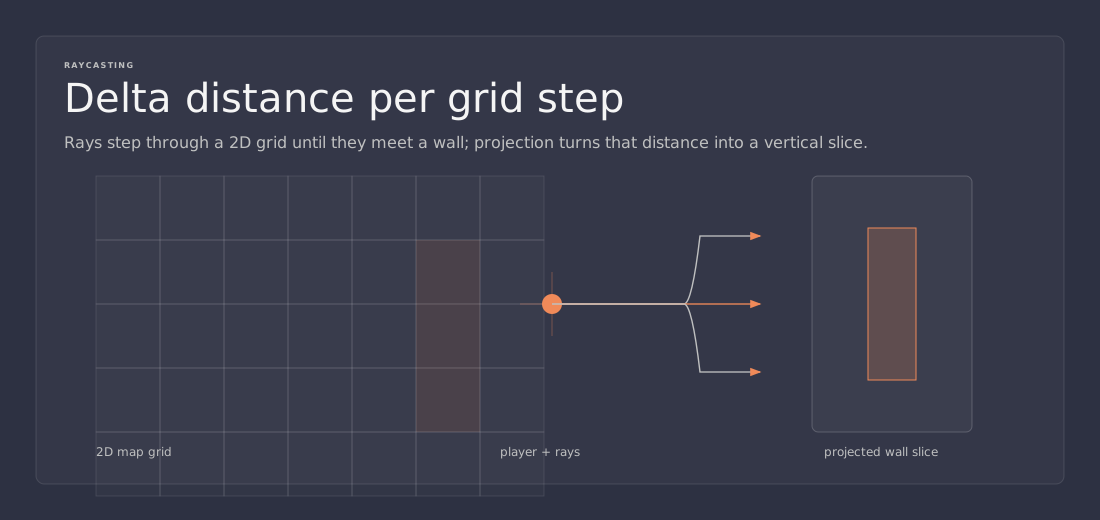
The DDA setup needs a few values. The player position is converted to the current map cell. The distances to the next x-side and y-side are tracked separately. The deltaDistX and deltaDistY values represent how much farther the ray must travel to move from one grid boundary to the next in each direction.
If one of the ray direction components is zero, the code uses a huge placeholder distance or infinity so the algorithm can keep working. That avoids division by zero without complicating the rest of the logic.
The step direction comes next. If the ray points left, the x-step is -1. If it points right, the x-step is +1. The same applies to the y direction. The starting side distance is set so the DDA knows how far it must go to reach the first wall boundary.
Then the loop begins. At each step, the algorithm compares the x-side distance and the y-side distance. Whichever is smaller tells the code which grid boundary comes next. The ray moves to that boundary, the map cell changes, and the tile is checked for a wall. Once a nonzero cell is found, the search ends.
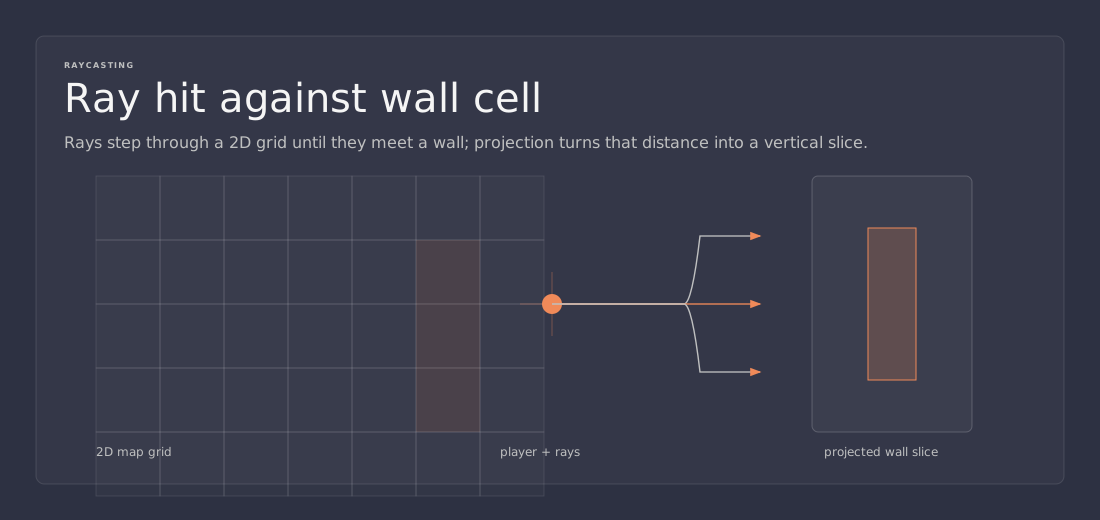
The distance used for rendering is not the raw straight-line distance to the hit point. If raw distance is used, the walls bend at the sides of the screen, producing the fisheye effect. The correct measure is the perpendicular distance to the camera direction. That keeps the projection straight and natural.
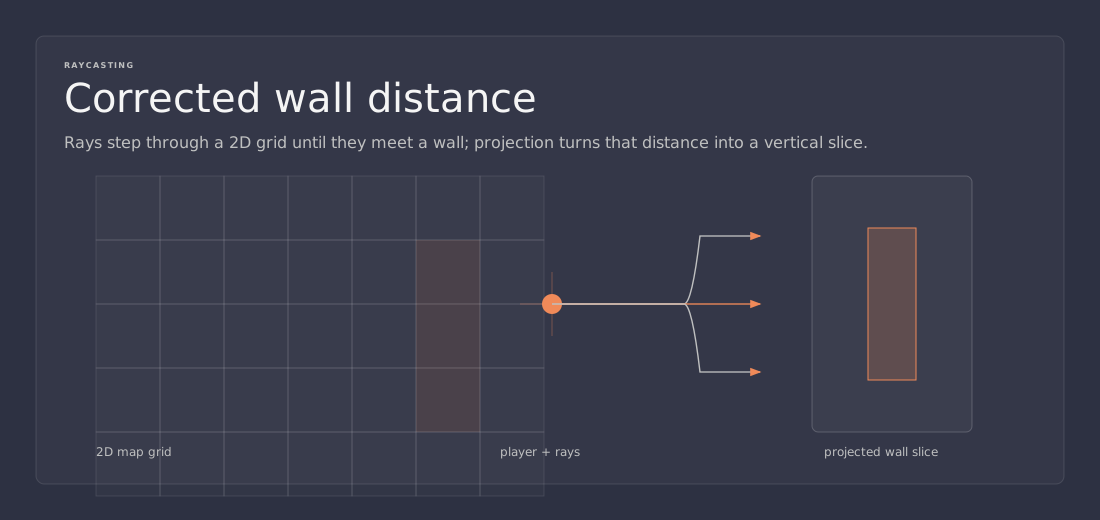
Once that distance is known, the wall height is just screen height divided by distance. A nearby wall becomes tall. A distant wall becomes short. The draw start and draw end positions are then clamped to the screen bounds so the stripe does not spill outside the visible area.
The wall type decides the color. A wall tile might map to red, green, blue, white, or another simple color. If the ray hit a y-side rather than an x-side, the color is darkened slightly. That creates a simple directional shading effect without any real lighting model.
The result is rough compared with textured graphics, but the world already feels like a real first-person space.
Textured raycaster
The textured version keeps the same raycasting core. The DDA walk does not change. The wall detection does not change. The perpendicular distance calculation does not change. The only difference is that walls are no longer filled with a flat color. Instead, each stripe samples a texture.
That means one more piece of information has to be calculated: the exact point where the ray hit the wall surface. The fractional part of that hit position tells which part of the wall was struck. From that, the x-coordinate inside the texture can be selected.
Once the x-coordinate is known, a second loop steps through the pixels of the stripe in the y direction. Each screen pixel maps to a corresponding texture y-coordinate. The texture sample is then copied into the screen buffer.
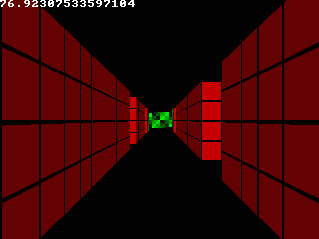
The tutorial uses a screen buffer because drawing every pixel directly is usually too slow. Copying a full buffer to the screen is faster than issuing one draw call per pixel. That is a simple but important performance choice.
The textures can be generated procedurally for demonstration purposes. Some are gradients. Some are XOR patterns. Some are brick-like or solid-color variants. They are not fancy, but they are enough to show how the sampling works.
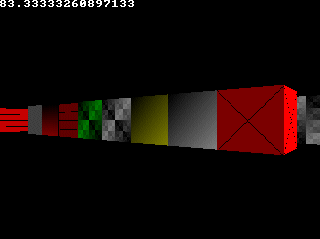
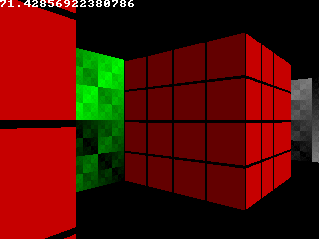
The y-side shading trick still applies. Since colors are packed into one integer, the darkening step uses a bit shift and a mask to reduce brightness without mixing the color channels together. The result is a tiny lighting cue that makes the surfaces easier to read.
The visual payoff is large. The same engine suddenly feels much richer because the walls now carry detail, pattern, and identity.
Wolfenstein 3D textures
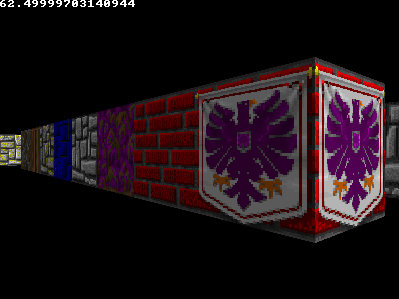
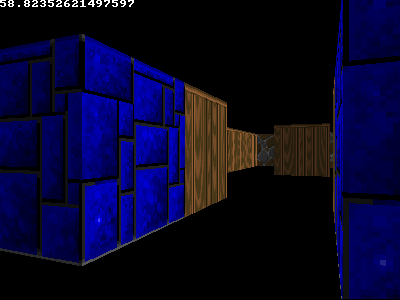
Instead of procedural patterns, the same renderer can load real wall textures. The tutorial shows textures from Wolfenstein 3D, which makes the example feel closer to the game that popularized the technique.

This part is pleasingly boring. The rendering logic stays the same. Only the source of the texture data changes. That is a good sign. It means the engine has a clean boundary between the raycasting math and the surface art.
The original game used separate light and dark versions of some walls. The tutorial takes a simpler route by using one texture per wall and darkening the y-side hits mathematically. That saves asset work and keeps the example compact.
Movement, collision, and rotation
A raycaster does not stop at drawing walls. It also needs movement. The sample uses a basic input loop with forward, backward, and rotation controls. The player position is updated by moving in the current direction vector, and collision is checked against the map before the position is accepted.
That collision check is simple, but it is enough for this kind of engine. The player is treated as a point. If the next position would land in a wall tile, the move is blocked. A more refined version could give the player a radius and check a small area around the position instead of just one point, but the point test keeps the tutorial easy to follow.
Rotation is handled by rotating both the direction vector and the camera plane. That matters because the direction vector alone is not enough. The plane has to stay in sync so the screen width continues to map correctly to the field of view.
The nice thing about this setup is that movement feels natural even though the underlying world is just a grid. The code does not need a 3D physics engine to let the player walk through corridors and turn at corners.
Performance considerations
A software raycaster is simple, but simple does not mean free. Two performance issues stand out.
The first is memory locality. Raycasting naturally works on vertical stripes, while most screen buffers are laid out as horizontal scanlines. That means the write pattern is not especially cache-friendly. On a modern CPU, that mismatch can matter more than the ray math itself. A more advanced renderer could reorganize the memory layout or process data in a more cache-friendly order.
The second issue is software blitting. Copying the finished frame to the screen through a software path can become the bottleneck, especially at higher resolutions. Even if the raycasting loop is efficient, moving pixels around can still slow things down. Hardware rendering would help, but it changes the nature of the example.
Those concerns do not invalidate the technique. They just explain why a clean educational raycaster is not automatically the fastest thing on a modern machine. It is a good example of the difference between a useful algorithm and a production-tuned renderer.
Closing thoughts
Raycasting remains a great teaching example because it is small enough to understand and rich enough to matter. It shows how a 3D-looking world can be built from 2D data, how a camera can be modeled with vectors, and how a few careful shortcuts can turn a grid into a convincing first-person scene.
The untextured version teaches the geometry. The textured version adds depth and visual detail. The Wolfenstein textures tie the whole thing back to the history that made it famous. Together, they show that a lot of rendering is really about choosing the right simplification.
The big lesson is not that 3D graphics are fake. The lesson is that good rendering is often selective. It only computes what is needed for the image in front of the player, and it does so in a way that stays fast enough to run in real time.
That is why raycasting still feels clever after all these years.
Source
This post is a cleaned-up rewrite of Lode Vandevenne’s tutorial, Raycasting.